This store requires javascript to be enabled for some features to work correctly.
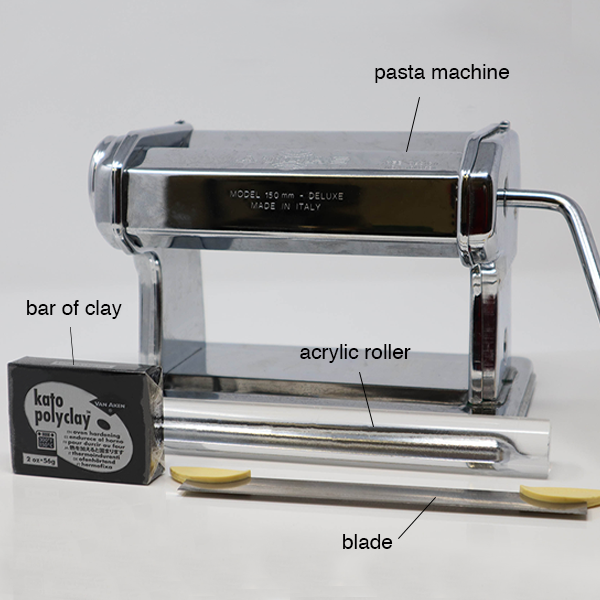
-Bar of clay
-Blade
-Acrylic roller
- Designated Pasta Machine for polymer clay ("a must" for firmer clay brands)
- Suitable workspace for polymer clay; i.e., large tile, glass cutting board, marble slab
*optional: Kato Liquid Clear Medium or Kato Basic Conditioning bar
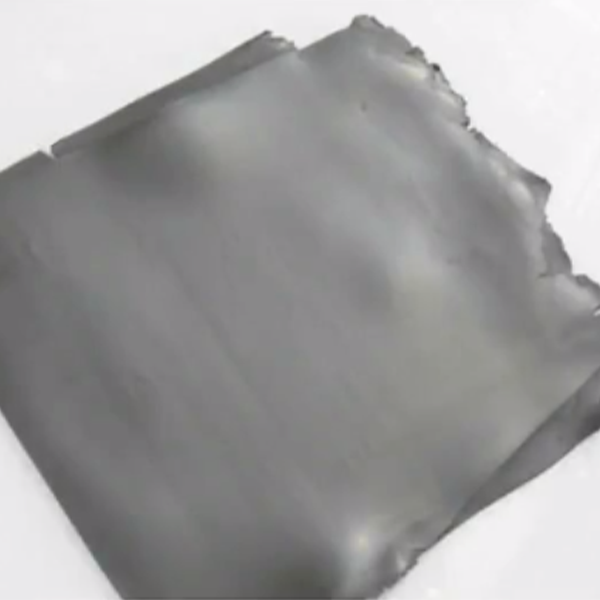
WHAT: Time and temperature affect all polymer clays, we call this natural occurance "advancing". Conditioning "mixes" the ingredients to uniform distribution in the clay and is best summarized as the process of bringing your clay back to the state it was intended to be in.
_______________________________________
WHY: Conditioning is a must for firmer clays. Unless you are baking a block as-is, firmer clays that are not adequately conditioned aren't as durable after baking. Unconditioned clay is brittle; Conditioned clay is pliable.
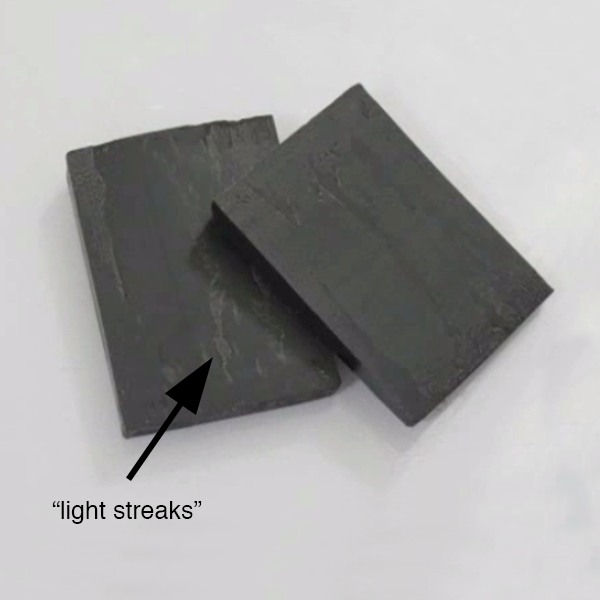
You can quickly see the condition of your clay by cutting the block in half. Lighter areas *as shown* indicates dryness in the clay. The presence of lighter areas reflect the natural occurance of "advancing" as noted previously. This just means that you would have to roll it through your pasta machine a few more times to condition it.
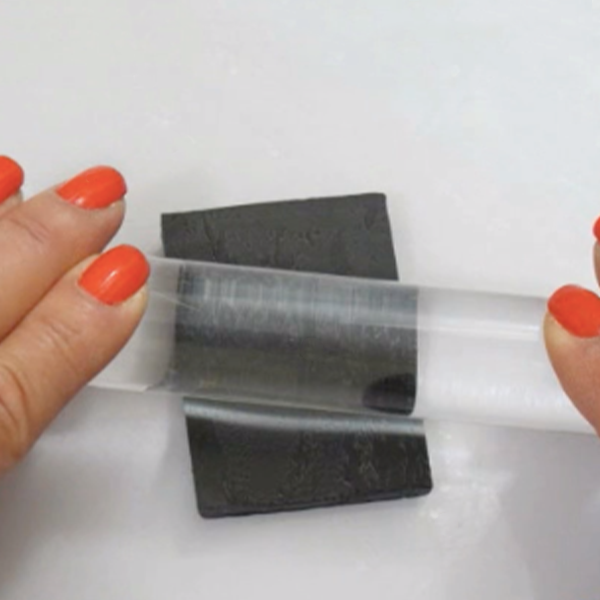
Before you roll your clay through the pasta machine, you have to prepare it. If your piece is too thick, it will crumble and make a mess. This has less to do with the clay and more to do with trying to put something large through a small slit. Use an acrylic roller and roll with pressure. Flip it over, roll and repeat until it's just a tid-bit thicker than the thickest setting of the pasta machine.
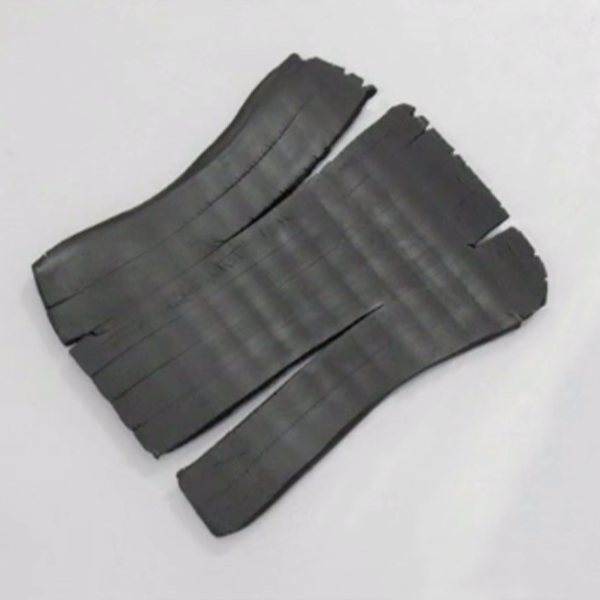
Roll your flattened piece through the thickest setting of your pasta machine.
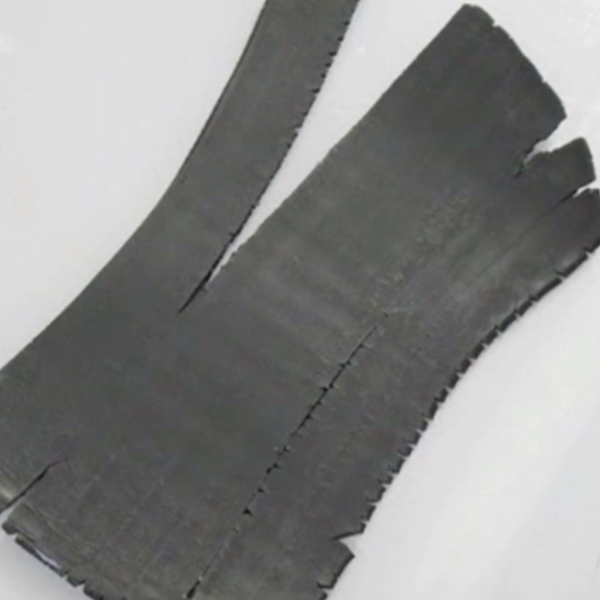
Gradually go to a thinner setting on your pasta machine. Don't fold the sheet yet, we're just flattening the block of clay from slab to a sheet. Note: Don't worry about holes or jagged edges. It's perfectly normal and a part of the process.
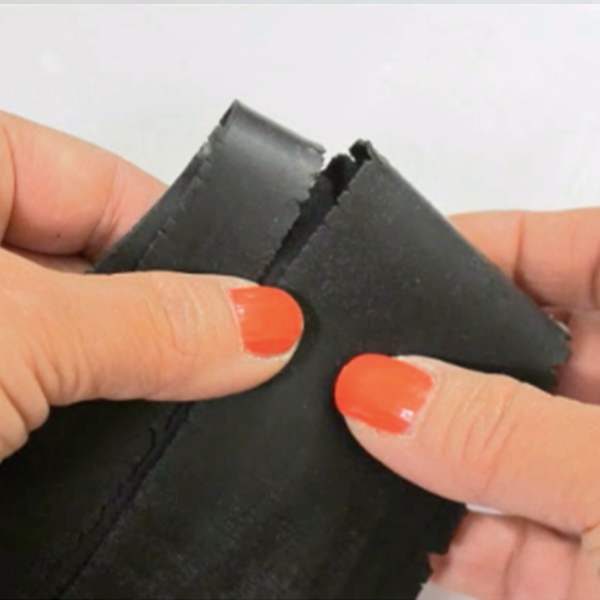
Once thinned, fold the sheet and roll it through the pasta machine. Always put the fold in first, perpendicular to the roller, so you don't trap air pockets! Continue to fold and roll. You can go to thinner or thicker settings as desired.
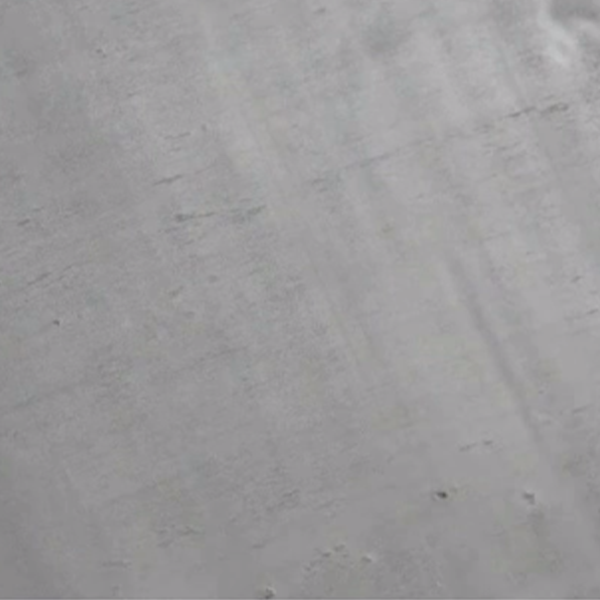
The presence of little pits and streaks *pictured* means that the clay is not fully conditioned yet.
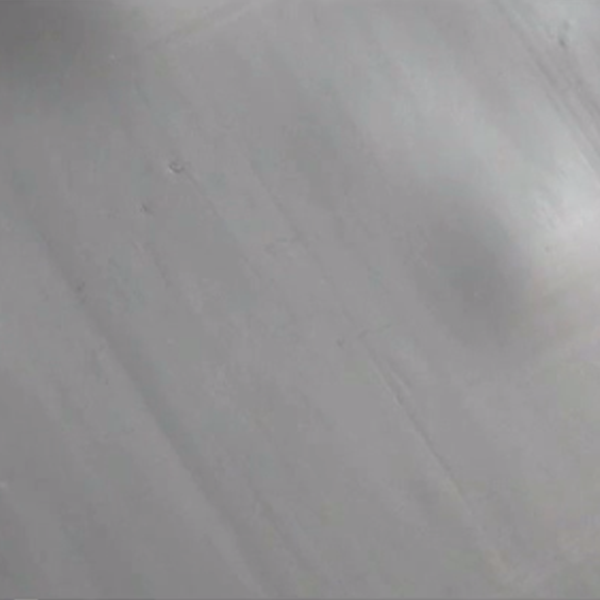
The more you condition the clay (by folding and rolling), the clay becomes more pliable. As you can see *pictured*, the clay has a smooth surface and softer appearance.
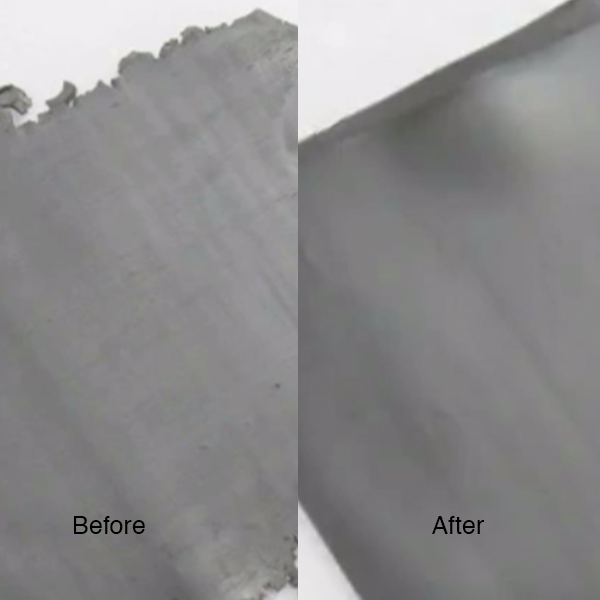
Here are steps A+B for comparison.
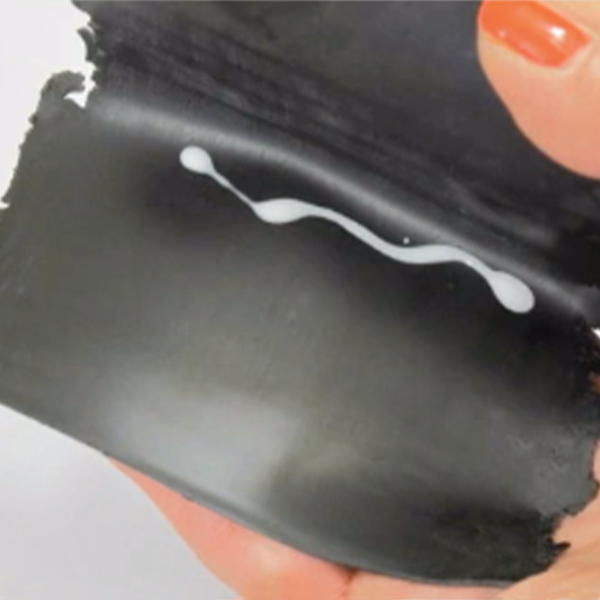
When the clay is very dry, you can add a small amount of liquid clay or our *New* Kato Conditioning Bar Fold the sheet over your conditioning medium and roll it through the machine. Continue to fold and roll until it's thoroughly mixed in. Repeat as needed.
