This store requires javascript to be enabled for some features to work correctly.

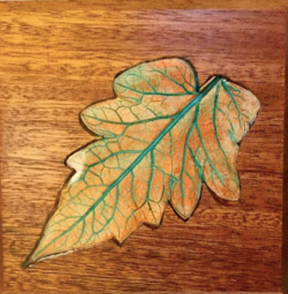
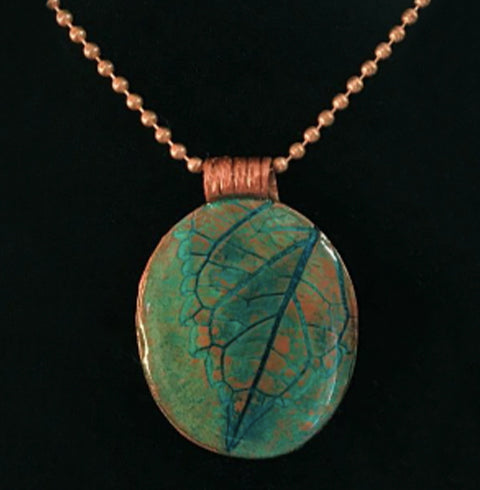
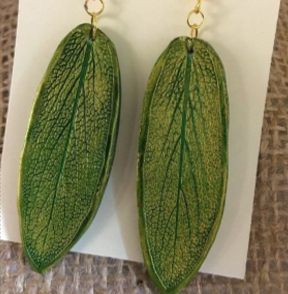
"Imprinting on polymer clay is a popular technique and there are many tutorials using different coloring and finishing techniques. My favorite especially in the fall is imprinting leaves on clay and highlighting the veins with alcohol inks, and then using a contrasting medium such as metallic paint, mica powder or paste waxes to color the raised areas. In this tutorial I will demonstrate creating a patinaed copper surface design." - Lynne M. Sole
- Pasta machine/ roller
- Clay blade and craft knife (x-acto)
- Light-colored polymer clay; conditioned and rolled out on a medium setting (#3 on Atlas)
- Glass or ceramic tile
- Round bowl to bake the finished piece on
- Cosmetic sponge/cotton buds or fingers to apply metallic medium
- Alcohol Ink, any color
- Metallic gold and copper colors; i.e., gold wax paste/mica powders/acrylic paint
- Isopropyl alcohol or ethanol (>90%) as ink extender to help spread the ink into the leaf veins
- Water-based varnish. I.e., Varathane polyurethane varnish, satin finish
- Suitable workspace for polymer clay
*Optional Gloves
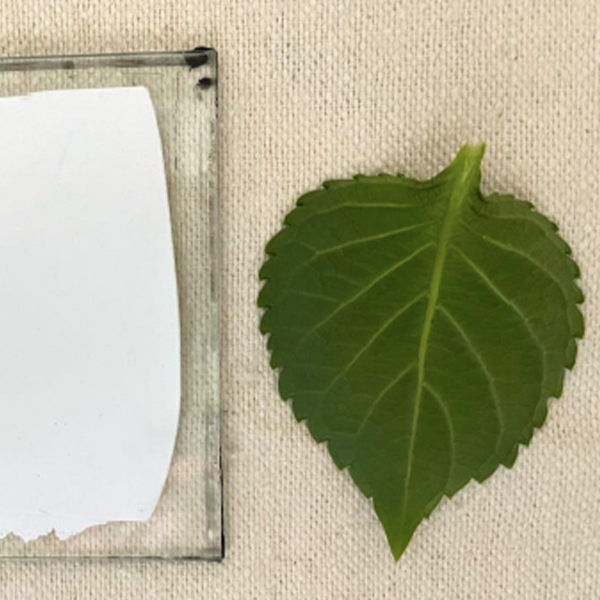
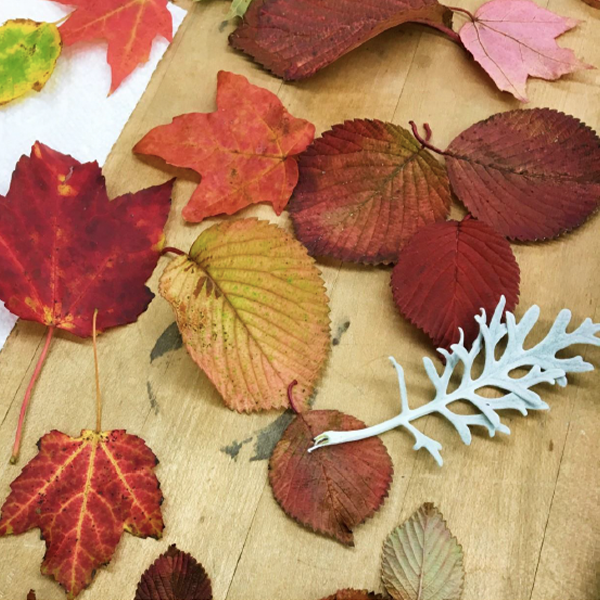
Look for a leaf with prominent veins and the desired shape for your project. Make sure the leaf is clean. *A Hydrangea leaf is used in this tutorial.
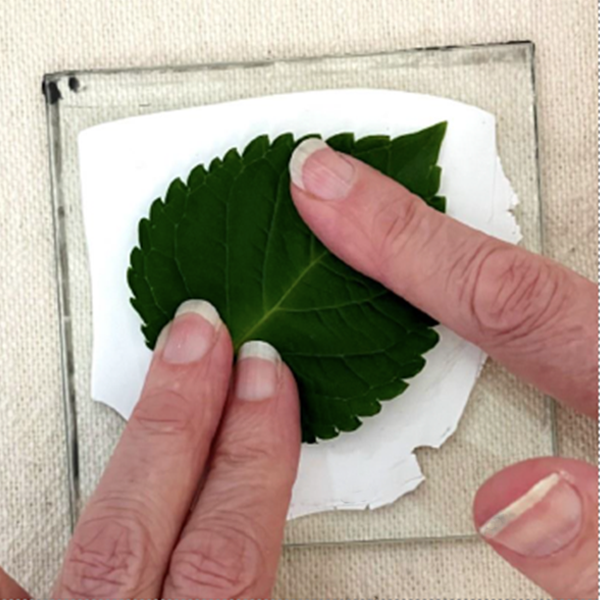
Place your conditioned clay (#3 medium thickness) onto your tile and gently press leaf into clay with fingers to make good contact with the clay. Press from the central vein outwards to the leaf edge to remove any trapped air pockets.
Optional: spritz clay surface with water as a resist. Place leaf onto the clay with the raised vein surface facing down.
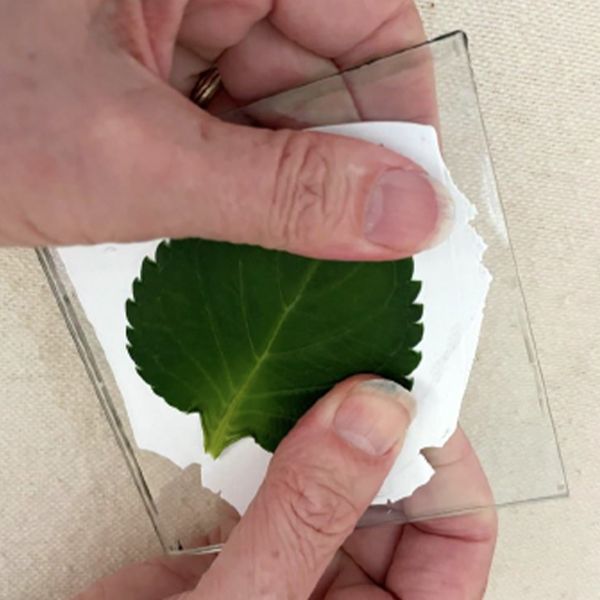
Place paper over plant and burnish gently. The leaf is well adhered to the clay and there are no sticking up areas.
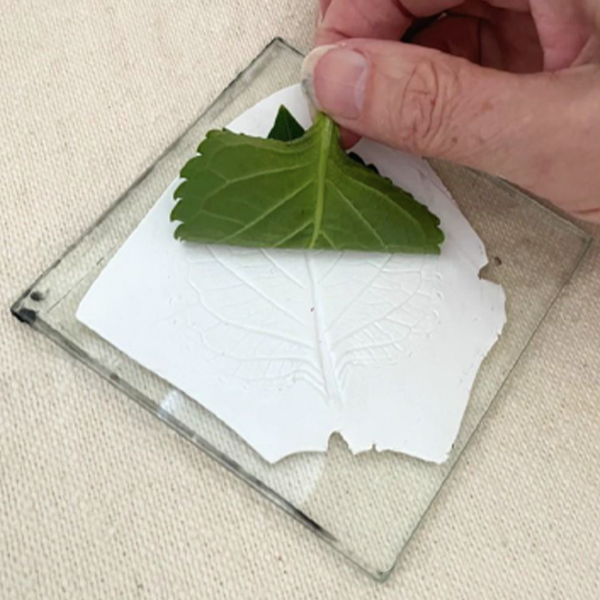
It's best to use the stalk part as a starting point. It may be necessary to use a blade to lift the first part, but be careful not to damage the imprinted texture. Small leaf pieces maybe left and removed after baking.
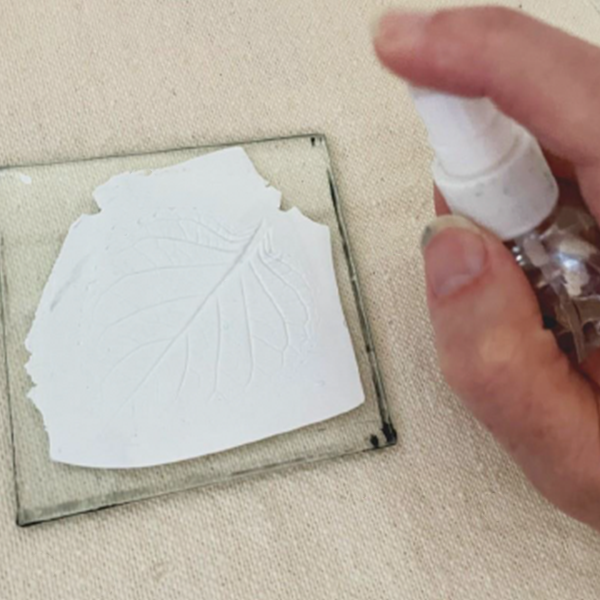
This will help to spread the ink into the veins.
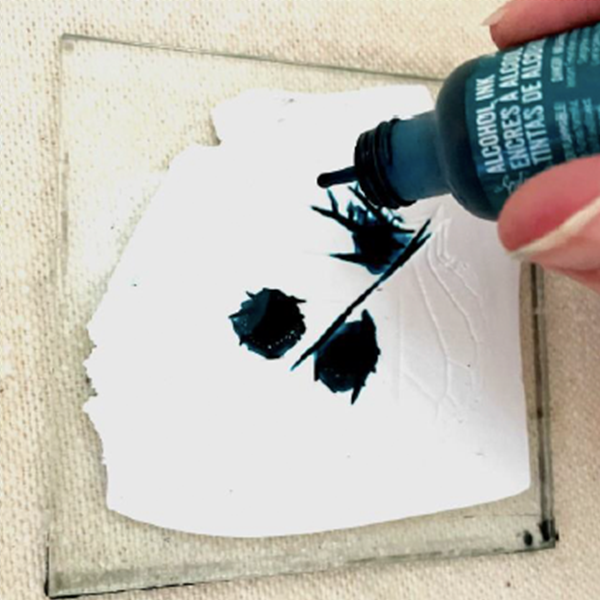
Gloves may be used to prevent the ink getting on your hands.
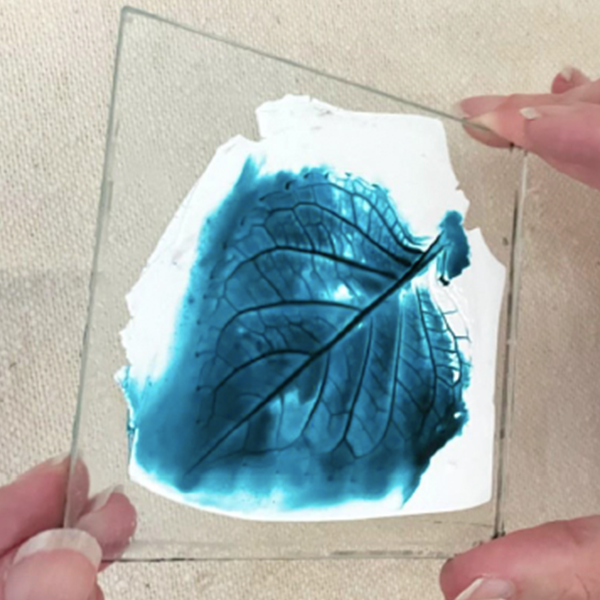
If the ink is not flowing sufficiently, spray again with isopropyl alcohol. Make sure the ink is getting into all the stalk, veins and the leaf edge.
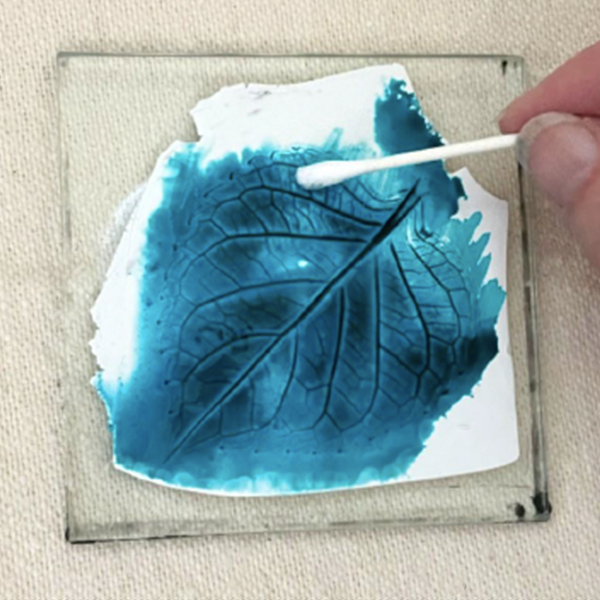
Avoid soaking up too much of the ink. Once completely covered, allow the ink to dry completely.
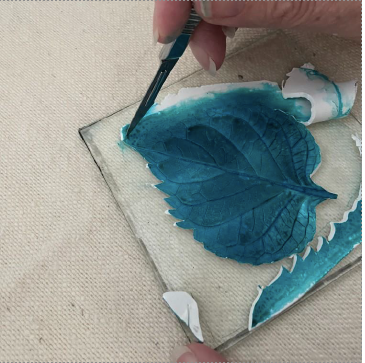
You may cut out each detail or cut out the general shape close to the leaf edge.
_________________________________
" I like the jagged edge- although it does make it challenging when putting on a backing."-Lynne M. Sole
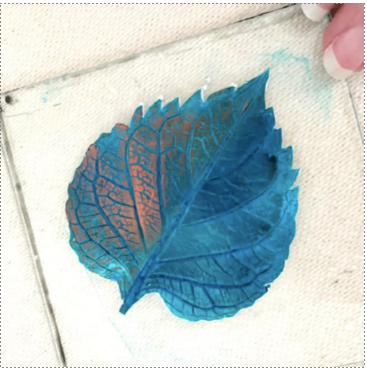
Gold and copper wax paste is used in this example. Mica powders or acrylic paint may be used instead.
__________________________________
Gently rub the wax paste/ chosen metallic material over the raised surface, taking care not to get the it into the veins. You may use a cotton bud, cosmestic sponge, or our fingers (gloves optional) to apply the metallic material.
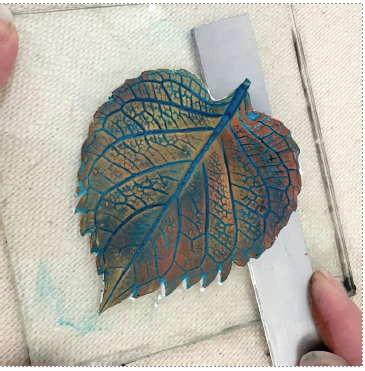
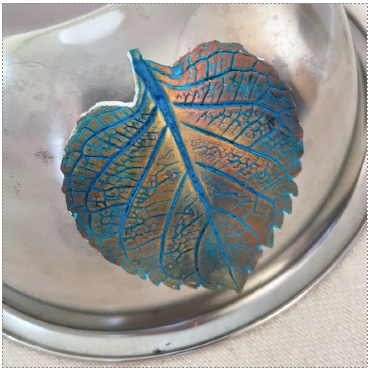
For maximum strength, bake Kato Polyclay at 300F for 30 minutes. "Tent" your work with foil or wax paper for color stability
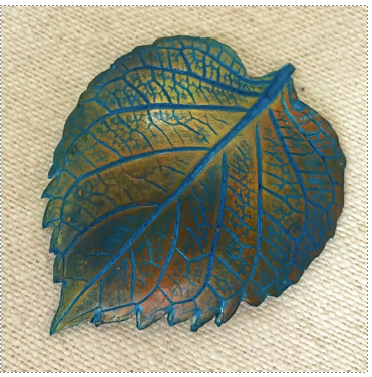
Once baked and cooled, paint the edges ink/metallic paint. Apply a thin coat of varnish to the surface. Repeat with a second thin layer of varnish. Lynne plans to add clay backing and making the leaf into a pin. What will you create?
"I am a polymer clay artist living in Massachusetts, USA. I have been working with polymer clay for about 6 years and love experimenting with various techniques and combining different media with the clay. Mostly, I enjoy working with my hands and creating something new and interesting. It is also much needed therapy after working on the computer and all the virtual meetings of my daily job. I am a member of a number of guilds including the IPCA." See more of Lynne's work here.

